Retaining walls installation tips
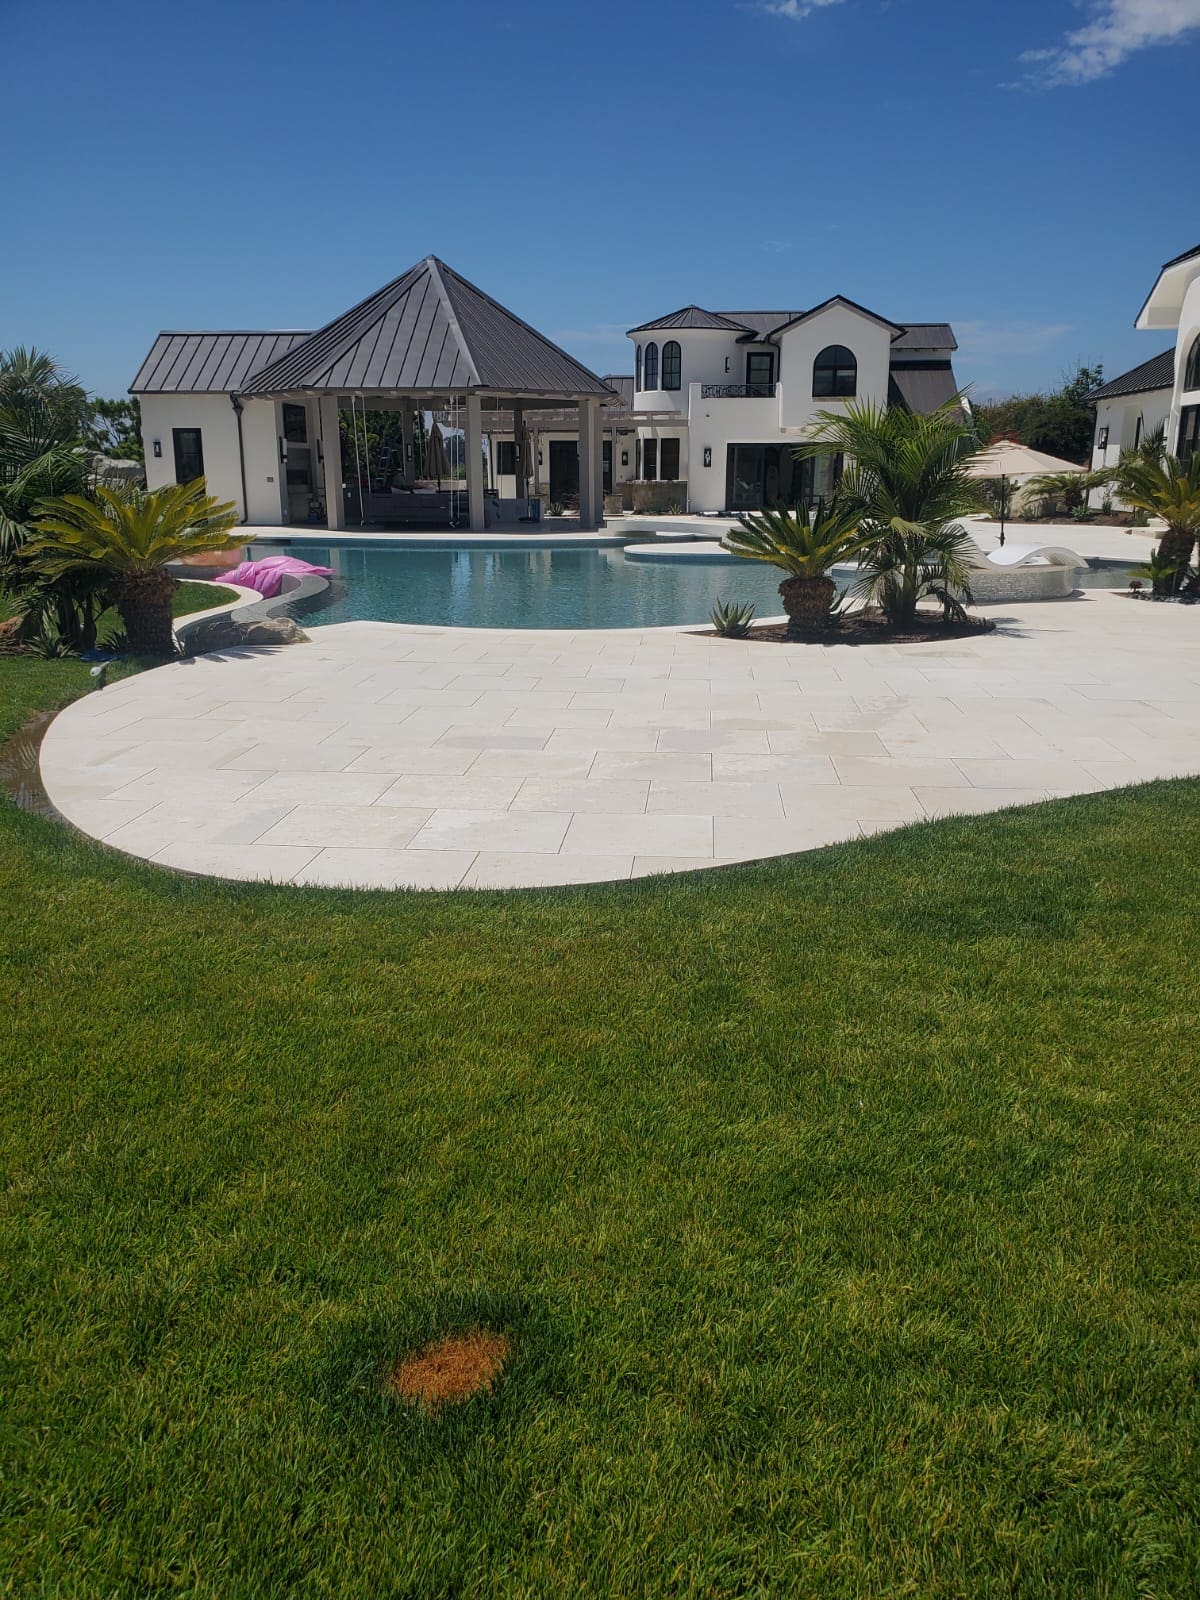
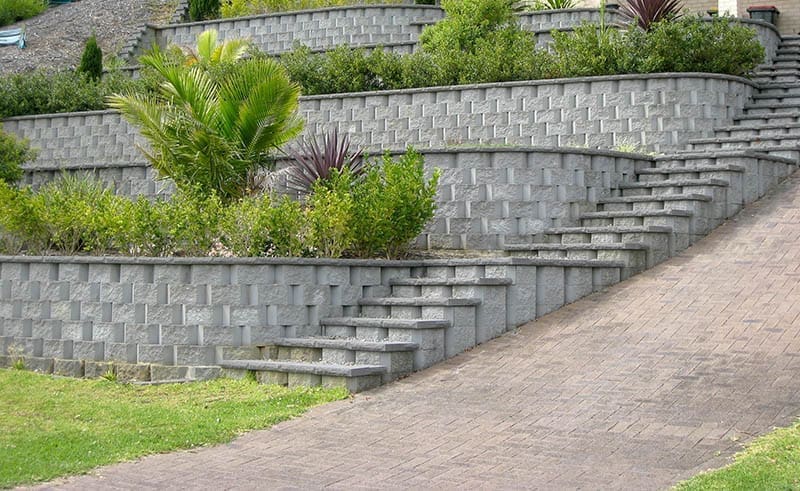
Retaining walls are beautiful and often necessary additions to yards and landscapes. They are designed to restrain soil at various levels and slopes to prevent erosion and enhance the aesthetics of your landscaping. Whether you have a residential or commercial landscape, a retaining wall could significantly increase your property’s aesthetic appeal and overall value.
Your goal should be to build a sustainable, attractive, and long-lasting retainable wall. There are different reasons for building a retaining wall with bricks, rocks, stones, and other block materials. You need to consider the overall purpose of creating a retaining wall on your property. If you need a retaining wall contractor in San Diego, call us today! (619) 818-0113
Below are a few retaining wall tips:
 1. Create Borders Around Your Property
A popular reason for building a custom retaining wall is to increase the security around the borders of your property. If you plan your retaining wall project well, you could install a retaining wall that can keep your home more secure.
The thickness and height of your retaining walls will determine how much security gets added. In addition, you should consider the types of materials used in your walls, such as brick, natural stone, wood, concrete masonry blocks, or a combination. They all significantly contribute to the strength and durability of your borders.
2. Garden Installations
Retaining walls can outline your garden space well. They will set the boundaries of your garden and help protect the crops and flowering plants inside it.
If you install a supports retainer wall over three feet in height, it requires a permit in california. you should use high retaining walls to surround and mark the boundaries of your garden. It is recommended to hire a professional contractor with experience in planning and developing custom retaining walls, especially if it is more than three feet and supporting soil in the gardens.
3. Water Containment
Do you have uneven terrain on your property? For example, slopes and hills often require retaining wall structures to serve as water containment features. But you must carefully plan your retaining wall design to ensure it can adequately contain the water on your property after it rains.
You never know when the next hurricane or rainstorm might strike San Diego. So if you want to prevent flooding issues on your property, a well-designed retaining wall can minimize the damage from flooding as much as possible. Then you won’t have an excessive runoff issue with your slopes and hills anymore because your new retaining wall can direct the water flow to the draining system nearby.
4. Terraced Slopes
Have you ever thought about how well it would look to have terraced land on your property in San Diego? Unfortunately, most people want to avoid them because of soil erosion, mudslides, and land stability concerns. But if you install a quality retailing wall, you can remedy these concerns.
Retaining walls give support, security, and aesthetic appeal to terracing slopes. Your slopes won’t be a safety risk again after you have these furthermore installed. You just need to hire the right company to plan and execute the development of your retaining walls.
check our blog on: how to hire the right contractor.
or Contact us:
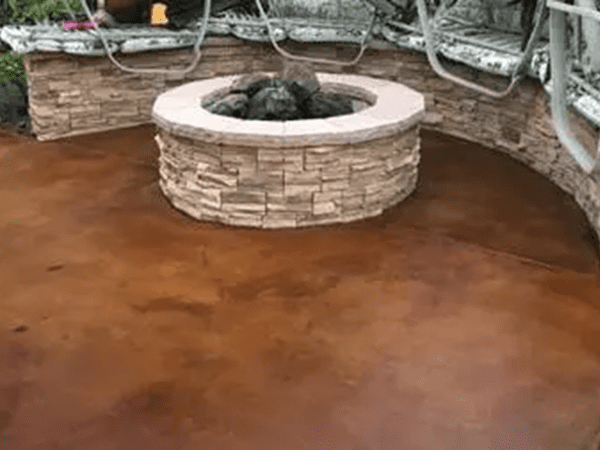
Want More Retaining Wall Ideas?
1. Stone retaining wall with built–in seating-
2. Cascading concrete blocks
3. Gabion retaining wall
4. Log roll retaining walls
5. Poured concrete retaining walls
6. Gabion baskets filled wMortarcks
7. Brick and mortar retaining walls
8. Wooden pressure-treated retaining walls
9. Precast concrete retaining walls
10. Retaining walls with built-in planters
How TO Install:
Stone Retaining wall with build-in seating:
Choose Your Wall Size.
Determine the size of your wall by measuring the area you’d select.
Select a design that fits your space
Prepare the Ground by clearing the area of debris.
Following, dig down a few inches Follow your state code.
Then add a layer of gravel to create a level base.
Following install Mortar Foundation: Use mortar to lay the stones for the foundation of your wall.
Make sure to level each stone as you go.
Install the Seating.
Once the foundation is set, build the seating into the wall.
Use a concrete mix to fill in the gaps between the stones.
Finish the Wall: Finish the wall by adding a toMortar of stones.
Use mortar to secure them in place. Seal the Wall.
Once complete, seal the wall to protect it from water damage.
Enjoy Your Wall and your newly installed stone retaining wall with built-in seating!
Cascading concrete blocks:
Measure the area where you want to build the wall. Make sure the area is level and that the ground underneath is stable. Dig a trench around the area to be walled, making sure it is slightly wider than the blocks you are using. Place a layer of gravel at the bottom of the trench. This will help with drainage. Place a 4-Inch layer of concrete in the bottom of the trench. Start laying the blocks in the trench, using a level to make sure they are even. Make sure the blocks are snug together and that the joints are filled with concrete. As you build the wall, make sure you use a level to ensure the wall is straight. When you have reached the desired height, add a layer of gravel on top of the blocks and trowel it into the joints. Add a 2-inch layer of concrete on top of the blocks, and trowel it into the joints. Let the concrete dry for at least 24 hours before applying a concrete sealer to the wall to protect it from the elements.
Gabion retaining wall
Gather all the necessary materials, tools, and equipment. These include the gabion baskets, rocks, steel wire, posts, shovels, wheelbarrows, and other tools needed for the job. Clear the area of debris and vegetation and level the ground. Place the posts in the ground and attach the steel wire to create the framework for the gabion wall. Place the gabion baskets on the steel wire and fill them with rocks. Secure the gabion baskets with steel wire. Add additional layers of gabion baskets, rocks, and steel wire as needed to complete the wall. Check the stability of the wall and make adjustments as necessary. Backfill soil behind the wall to help with stability. Add a protective layer of soil or gravel to the top of the wall to prevent erosion.
Log roll retaining walls
Poured concrete retaining walls
Determine the height and length of your retaining wall and the size of the area to be filled with concrete. Prepare the area by excavating the area. This will determine the depth of the concrete for the wall. Install the forms for the wall. Make sure the forms are level and secure. Place reinforcement in the forms for the wall. This will help the wall to hold up better and prevent cracking. Mix the concrete according to the manufacturer’s instructions and pour it into the forms. Make sure to fill in any air pockets with more concrete. Smooth out the surface of the concrete with a trowel. Allow the concrete to dry and cure for the amount of time recommended by the manufacturer. Remove the forms and inspect the wall for any defects. Backfill the area around the wall with dirt and gravel to help stabilize the structure.
Gabion baskets filled with rocks retaining walls
Measure and mark the area where you want to install the gabion basket retaining wall. Dig a trench at least 6 inches deep in the marked area for the base of the wall. Place a layer of gravel at the bottom of the trench for drainage. Place the gabion baskets in the trench and secure them to each other with wire ties. Fill the gabion baskets with rocks or other materials, such as concrete blocks or bricks. Continue to fill the gabion baskets until they are full. Backfill the trench with soil and compact it. Add a layer of soil and grass seed on the top of the gabion wall to help it blend in with the landscape. Water the newly planted grass seed regularly until it is Mortarished.
Brick and Mortar retaining walls
Prepare the area: Start by clearing the area where the wall will be built, removing any vegetation and debris. Install a base course: Install the first course of bricks, or the base course, by laying them flat on a layer of compacted gravel or sand. Backfill and compact: Backfill the area around the base course with a layer of gravel or sand and compact it with a plate compactor. Install the second course: Install the second course of bricks, making sure they are level and aligned with the first course. Install the third course: Install the third course of bricks, making sure they are level and aligned with the first two courses. Install the fourth course: Install the fourth course of bricks, making sure they are level and aligned with the first three courses. Install the capstones: Install the capstones, or the top layer of bricks, making sure they are level and aligned with the other courses. Backfill and compact: Backfill the area around the wall with a layer of gravel or sand and compact it with a plate compactor. Finish up.
Wooden pressure-treated retaining walls
Start by planning the wall and mark the area where the wall will be built. Make sure to measure the area and plan the wall size, shape, and purpose. Clear and level the area for the wall. Remove any debris, rocks, and other obstructions. Dig a trench for the wall footing. The depth and width of the trench should be based on the size and type of wall being built. Line the bottom of the trench with a layer of gravel. This will help with drainage and provide a solid base for the wall. Place the pressure-treated wood into the trench. Place the board ‘s side by side, making sure to leave a gap between each board. Secure the boards in place with brackets and screws. Make sure to drill pilot holes for the screws to prevent splitting the wood. Backfill the trench with soil and tamp down to level the wall. Add a layer of topsoil to the top of the wall to help with drainage. Finish the wall with landscaping fabric to help prevent weeds and erosion.
Pre Cast Concrete retaining walls
Start by planning the project and obtaining any necessary building permits or approvals from your local building authority. Mark out the area you want to install the wall, making sure it is level and that the area is free of obstacles. Dig a trench at least two feet deep and two feet wide around the area you marked out. Place a layer of gravel at the bottom of the trench for drainage. Place the precast concrete panels into the trench. Make sure they fit snugly and that the panels are level. Place a layer of soil on top of the precast concrete panels and tamp it down firmly. Place a layer of topsoil on top of the soil and tamp it down firmly. Place a layer of decorative stones around the perimeter of the wall if desired. Water the soil and stones around the wall to help settle them and promote plant growth.
Retaining walls with built-in planters
Start by selecting a retaining wall system that includes planters. Make sure the wall is rated to handle the weight of soil and water when the planters are filled. Clear the area of debris, rocks, and other debris that may be in the way of the building. Lay out the retaining wall where you plan to install it. Make sure the wall is level by using a spirit level. Dig a trench for the base of the wall. The depth of the trench should be twice the height of the wall. Make sure the bottom of the trench is level and compacted. Place the retaining wall blocks in the trench. Make sure the blocks are level and secure. Install the planters by bolting them to the retaining wall blocks. Fill the planters with soil and your desired plants. Backfill the area around the wall with soil. Make sure the soil is well compacted. Install the necessary drainage materials to remove excess water from the soil and the wall. Water the plants in the planters and enjoy your new retaining wall with built-in planters.
Do you need more retaining wall design ideas or assistance? California Clean & Seal can help any commercial or residential property owner in San Diego with their retaining wall planning and development. Call us at (619) 818-0113 for more information.